Photobucket Photobucket Photobucket Photobucket Photobucket
Showing posts with label Tuesday Tip. Show all posts

Tuesday, April 1, 2014

Tuesday Tip


You can never have enough seating! So why not make it portable,  flexible and a little thrifty?

One of 2 benches in the client's foyer.


This is exactly what I did for a client and not just because I have a thing for benches, ottomans and stools. But because there was a need for additional seating for evening gatherings. However,  on a daily basis the room needed to be open for traffic flow, so to speak. The room, which I will show you in another post, was the first of it's kind I've ever done!

I recently saw this very similar bench at Home Goods.   I forgot to take "before" pictures of the benches I used,  so I thought this was a good reference since they too had faux leather seats. 

The solution? Add 2 benches to the adjacent foyer from Target! Recover them in a fabulous fabric that coordinates in 2 rooms so they can be put into service anytime. and look as if they belonged in either room here all the time.

Tuesday, October 1, 2013

Tuesday Tip


Consider giving something you thought was really ugly a complete overhaul. The results may surprise you!
BEFORE:
The client sent me this photo taken at night, I'd swear, just to demonstrate how ugly and hopeless the chair was in it's current state. It had been recovered in this red stripped, somewhat shiny,  fabric a decade ago. The little blue fabric swatch she tossed on the back indicated to me she was open to the possibility it could have a new life. That and a story she told me of how this was the chair that her husband used to sit on, with a board laid acrss the arms, so he could do his homework as a child. I pounced on it! And not just because of sentimal reasons...

BEFORE:
but also becasue this chair had the right proportions, was well made and so interesting with the barley twist details! Not what you normally see on an Arts and Crafts style chair.  A bobbin or spool chair would have been a handsome addition to the room. But I didn't see the point when I knew this one would do just fine. We took the blue velvet seat from an occasional chair, just to have a look since the client thought she wanted blue to be one of the predominate colors in the room.

AFTER:
Purist's look away, or least try to keep in mind I was trying to save this chair from a life sentence in a basement. The new ebony color, proved to be just the stroke of genius that many of you got a good laugh over last year! It certainly yielded the desired effect to overhaul this baby.
 And, of course the perfect fabrics...

made the transformation complete. The cream toss pillow with the carmel velvet "conversation bubbles" is from John Robshaw and the wool plaid is from Kravet.  As you can see, we ended up with just a hint of blue-gray in the plaid I selected. I joked with the client that if she comes home one day and the chair is missing, it's at my house. Her response? It better not be because now it's one of her favorite pieces too!


Tuesday, February 12, 2013

Tuesday Tip

Who doesn't love a box of fine chocolate's for Valentine's Day, but there are plenty of less expensive ways to say I love you...
Whip up a batch of brownies then cut them out with a heart shaped cookie cutter. Especially fun for kids- of all ages!


Maybe your loved one would like a little peanut butter (from Reese's) with their chocolate?

Krispy Kreme- certainly not a heart healthy breakfast, but...


add a glass of milk and heartfelt sentiment, what's not to love?


As you can see, we're all sugared up at the A&A house!

Tuesday, January 15, 2013

Tuesday Tip

Take inventory and take advantage of the white sales!

January is always the perfect time to take inventory and assess what you may have noticed lacking over the holidays. An extra set of towels, the perfect platter, etc... And sometimes the beginning of a new year acts as a reminder to re-stock so to speak. And, in my case it allowed me to take control of my seemingly uncontrolable landslide of breakdowns and breakage.


Aplico lions head tureen

I am not exaggerating when I tell you something(s) has broken down, or accidentally been broken every week for the past 2 months. It's almost laughable. Almost.

The series of mechanical failures started with the new lawn mower. Last week it was the dishwasher. The next 10 items ranged from toilets to my mixer. You get the picture, homeowner hell- we've all been there in varying degrees depending on the age of your house. This week, the coffee maker and washing machine are vying for the honor of number 13 with their noisy antics. Mr. A&A was traveling during most of the issues, naturally. Coincidentally, many of my standard white dishes and serving pieces met their demise over the holidays.

John Wanamaker

In case you ever wondered how the white sale got it's name, the credit goes to John Wanamaker. Wanamaker's is the famed Philadelphia department store. In 1878, to boost slow sales in the month of January, Mr. Wanamaker put all his linens on sale. Naturally, they only came in white. It's interesting that over 130 years later, most people still think of linens and towels when they hear the term white sale. These days most retailers include small household appliances (that are not necessarily white) and in more recent years white dishes and a host of other random items can be among the sale offerings. One other little tid-bit for those who love design/literature/history, Edith Wharton's book The Reef could be purchased at Wanamaker's in 1913 for $1.17 according to wcpubliclibrary.org.

Inside the famed department store.

Over the years I've been partial to Apilco French Porcelain,  but I'm certainly open to a change and would love to hear your tips on your favorite white dishware?

Tuesday, December 11, 2012

Tuesday Tip

How to polish silver according to the experts!

This is one of those tasks most people dread doing, myself included. In fact, there was a time when I didn't even want to own any silver because of how time consuming it was and the awful smell of most polishes. Not to mention, it was always one of my assigned chores growing up. But here are some great tips for taking the pain out of polishing.
The expert advice I have to share comes via the folks of Southern Living magazine and the Mr. Othman Ayoub, the Director of Stewarding at the Ritz-Carton in Washington, D.C.

Southern Living breaks it down into 3 parts:
1.) Polish It: remove tarnish by placing your silver on aluminum foil in your sink, sprinkle with baking soda and pour boiling water over it. Rinse and pat dry.
2.) Use It: Frequent use brings put that rich patina. Rinse right after using to prevent tarnishing from sulfides found in foods like mayonnaise and eggs. Use a gentle dish detergent (avoid anything with citrus). Silver made after 1939 is dishwasher safe, but remove before the drying cycle!
3.) Store It: If displaying in a cabinet, place a piece of chalk nearby- it absorbs chemicals that cause discoloration. Or store in sealed plastic bags. If you have a silver drawer or chest, line it with Pacific Silvercloth, an acid and sulfur-free material that keeps your treasures spotless.

Mr. Ayoub  uses this method:
1.) Line a glass or plastic tub with aluminum foil- shiny side up and fill with hot water.
2.) Add salt- he used coarse kosher salt and baking soda.
3.) Put in silver pieces and let soak 10 minutes.
For quick touch ups he uses a bit of Colgate toothpaste and a soft cloth.

For copper pots he says...
Make a paste of salt, baking soda, lime juice, vinegar and flour. Use paste to rub pots with a soft cloth.

And, for the black stuff that inevitably ends up on the bottom of pots and pans he says pop open a Pepsi and soak!

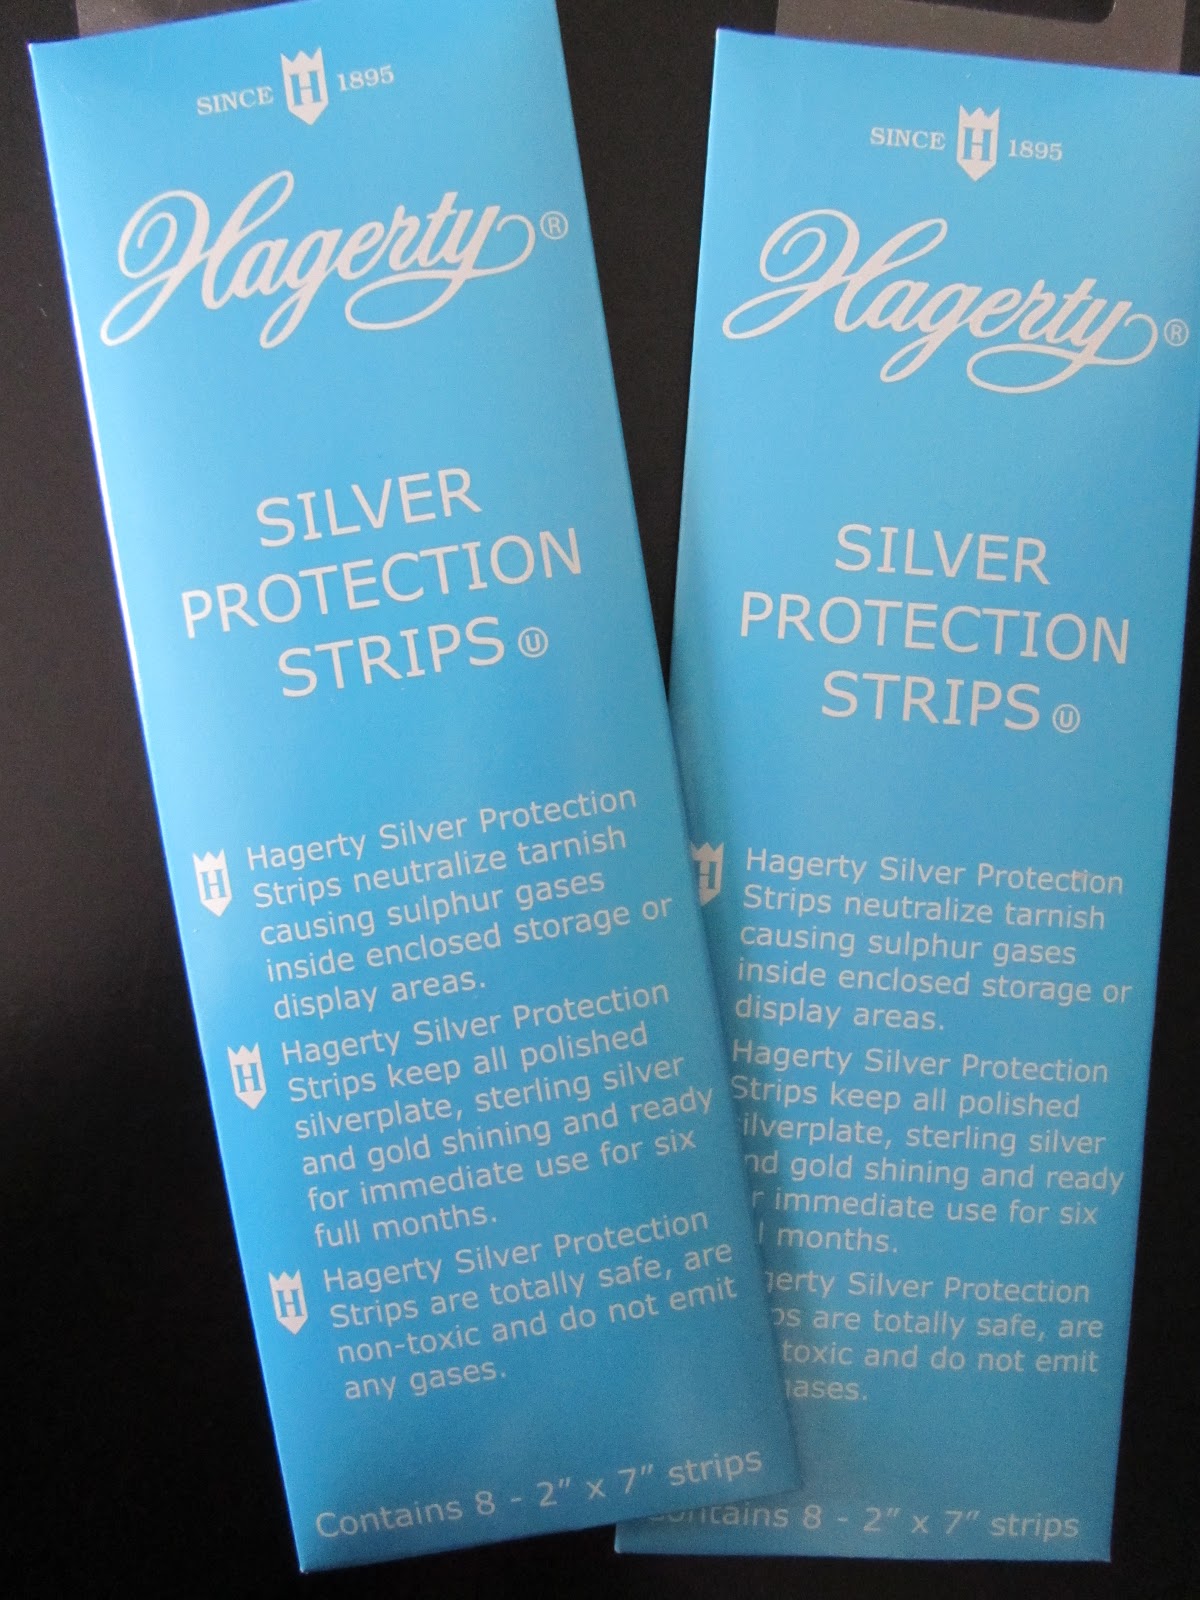
A few months ago,  I was noticing some pretty silver spoons  my client had out on her counter in a glass vessel. I asked how she kept them from tarnishing quickly and she gave me these from The Container Store:

After cleaning silver, place one of these strips in the drawer, bag or whereever you store your silver.
I'm guessing  this may have a similar result to using chalk or silvercloth as suggest by Southern Living?


Readers if you have additional tips, please share them, we need all the shortcuts possible this time of year! Also, I would love to kno,  besides Brasso (I loathe the smell) what readers use to clean their brass?

Tuesday, September 4, 2012

Tuesday Tip

Share some sweet basil with friends. For many, our summer gardens especially those in containers, are fading fast.
Lemon-Basil Butter Cookies-bet you can't eat just one!

Why not give the gift of herbs in the form of a cookie? This is a super easy receipe and has just 6 ingredients, that you likely already have on hand. Place a bunch in a pretty bag and drop them off to friends and neighbors. Don't worry, this receipe yields dozens, so you'll have plenty of leftovers to put in your freezer!
Wish I could send a bag of these to all my blog friends and readers!

Lemon-Basil Butter Cookies
Southern Living May 2001

Recipe:
1 cup fresh lemon-basil leaves*
1 3/4 cups sugar, divided
1 pound of butter
1/4 cup fresh lemon juice
1 large egg
6 cups all-purpose flour

Process basil and 1/4 cup sugar in a food processor (I use my mini-chop) until blended.
Beat butter at medium speed with an electric mixer until creamy; gradually add remaining 1 1/2 cups sugar, beating well. Add lemon juice and egg, beating until blended.
Shape dough into 1-inch balls and place 2 inches apart on lightly greased baking sheets. Flatten with bottom of a glass dipped in sugar.
Bake at 350 degrees for 8-10 minutes or until lightly browned. Cool on wire racks.
Yield 6 1/2 dozen
*Plain fresh basil leaves may be substituted for lemon-basil leaves (I use regular)

Enjoy!!!


Tuesday, July 31, 2012

Tuesday Tip

Tips on how to clean your goddess...or other stained marble.

In the spring, I did a post on busts with the intention of showing you mine and promptly forgot until now!
The owner from a favorite shop holding the bust for me to view all sides.
 Even though he said he had already vacuumed and wiped her down, she was still such a dirty girl!

This is how she looked in the shop after being outfitted with her new iron stand. The original marble pedestal
that surely once held her form was not found when she discovered in the celler of an estate in Europe by the shop owner. I actually didn't mind her sepia patina, but felt I needed to try and capture her original appearance.

I honestly didn't have a plan on where/how to start and just plunged in with what seemed reasonable and safe. Which ended up being mild dish detergent, baking soda, and lots of scubbing with soft tooth brushes and soft rags.
Though my cleaning method was working, I panicked halfway through and searched google for tips!
 It seemed this was okay. I also read suggestions to use hydrogen peroxide and chalk.
The hydo seemed to work a bit, the chalk was useless!

Add equal parts time and patience. And voila!
When the sunlight comes into the room in the morning, she glows!
 There is still some staining and discolorations, which doesn't bother me at all.
 Based on their location, I suspect she may have resided outdoors at some point.
She needs a proper name, but in the meantime I'll keep referring to her as the goddess.

Dear readers, if any of you have additional tips on cleaning marble, please share them!

Tuesday, July 17, 2012

Tuesday Tip

Peace + love and beyond the expiration date = happiness + savings!
I took this picture from the top of a Bed, Bath and Beyond coupon I tore out of a page
 of  my fall 2011 Traditional Home magazine!
In case you didn't know, the retailer Bed, Bath and Beyond accepts expired coupons! I'm not kidding. I discovered this by accident about 2 years ago (forgive me for not sharing it until now) when I was buying all the stuff my oldest needed for his first year of college. When I went to pay, I pulled out my coupons and realized they were expired.  The clerk, a sweet elderly gentleman, informed me they take them even if they're past the expiration. You can bet that ever since that shopping trip, I've never set foot inside their doors without several coupons in hand. Especially, since it's one of those stores you might pop into for a few tea lights and walk out with 3 other items you didn't even know you needed! 

Saving for my next visit!

You may be interested to know that world renowned interior designer, Bunny Williams, mentions in her latest book, Scrapbook For Living she finds shopping the storage container isle of retailers like Bed, Bath and Beyond "almost as thrilling as exploring a fabulous antiques shop." I enjoyed reading this little tid-bit and it fascinated me to know there are people like me who are obsessively organized, but love all things old and historic. Somehow though, I can't imagine her using a coupon!

Tuesday, June 19, 2012

Tuesday Tip

Woven washable baskets. Get some!
 Panama Woven Washable Baskets 

This is the first time I have ever published a Tuesday Tip that was on the pricey side. But when I discovered these baskets from Williams-Sonoma Home, I thought it was worth passing along. The baskets look just like wicker, but are made from polypropylene.The retail price is $69.99 (I bought my for $59.95 at the WSH outlet in Leesburg, Virginia) which seems a bit much for just 2 baskets until you consider they can be used over and over and even left outdoors!

If you don't want to wash them by hand, you can put them in the dishwasher!!!
I love real wicker and have 2 pull out baskets for fruit/vegetable storage (with liners) in my kitchen,
but the germaphobe in me loves this more!!!

I can think of dozens of ways to use them, but here's what I did with my pair:
I've told my daughter to put whatever she needs for the pool here.

 My other daughter has one for all her summer items too. Now if she would just put her things away...teenagers!
Photos courtesy of WSH and A&A

Tuesday, May 15, 2012

Tuesday Tip

Cheap tricks for adding small amounts of fabric to a room. I have a few options beyond the toss pillow that I've used over the years. Whether you want to add a designer fabric remnant or just the need to be thrifty with your decorating, these ideas can help!

My daughter, who recently celebrated her 18th birthday, has announced she is ready for a bedroom makeover. I must admit, it's long overdue. Her room has been frozen in her 12 year old wishes about 4 years too long. She asked for a makeover 2 years ago and then couldn't commit to a color scheme, as she knows this is to be the final version of her room. We are going to start the process again of searching for the perfect fabric, that we both can live with!

From the time my children could talk and express their interests, they have always had a say in how their rooms were decorated. And because of that, I have always been quite thrifty about what goes into them.

Especially when it comes to fabrics. Typically, I don't recommend using use high-end fabrics for children's rooms. Between the wear and tear and pace at which children's interests change, it usually doesn't make sense to invest in textiles. That doesn't mean the room can't be stylish, but I tend to put the emphasis on function and enjoyment when decorating kid spaces. Once they're older, then by all means invest in key pieces and fabrics that can easily transform into guest rooms or that your children can take with them when they leave the nest!

Cheap trick #1
 
Add color and pattern to an inexpensive chair with fabric. This one happens to be from Ikea. It's perfect for a youth/teen room.  It's not particularly attractive, so recovering the seat cushion and lumbar pillow in discount fabrics went a long way in infusing it with some personality. The gingham welt on the seat cushion was cut from a Pottery Barn Outlet hamper liner! Some of you may recall that I am not beneath using shower curtains for fabric options either.


Cheap trick #2
Cover the drawer fronts of an old chest with fabric. Technically, this chest was my first antique. As a child, I was with my mother when she bought it. She painted it black and used it in the guest bedroom. It's had many renditions over the years and was used in both my children's nurseries. The fabric on it is from Laura Ashley and has remained this way for the last two room makeovers.  I hate to admit it, but I never got around to putting the same fabrics used on the chair on the drawer fronts.  It too will definitely get a much needed and more sophisticated update!

For those of you that have inquired, I have not abandoned Tuesday Tips, but have simply had a busy few months. I do hope to be more consistent, and recently had a client give me a good tip which I'll feature in an upcoming post. And, dear readers if any of you have a tip to pass along that you would like me to publish, just send me an email!

Tuesday, February 28, 2012

Tuesday Tip

Paint your faux brass fireplace doors with this:
I've kept this can for touch-ups. so far, none needed!

As I mentioned in yesterday's post, after not wanting to to part with $$$ to get new doors, that would not have been anything special, I was cruising the paint isle one summer day at one of the big box stores (can't recall which one, it was over 2 years ago) I saw an entire display dedicated to fixing the paint on your outdoor grill. Cue up the aura light from above, it was a total light bulb moment! I figured if this paint is for high heat useage and can survive the elements (most grills get left outside-right?) it just might the answer to rid myself, for all eternity, of my dated fireplace doors.

It comes in spray too, but get the can so it can be brushed on. My husband did a very light sanding to give the metal trim some tooth and the paint went on easy. We use our fireplace from early fall to early spring. It's gas, but puts out some serious heat and after 2 seasons with no problems, the library fireplace doors eventually shed their brass doors too!

My only regret? That we didn't figure this out sooner. Then, I wouldn't have so many photos year-after-year of my children (looking so adorable at  Christmastime) with the big round smudge in their pictures from tree lights or the camera flash bouncing off those ugly doors as they posed by the hearth!!!


As for painting the brick, (see yesterday's post) that was super easy too according to my husband. Here is what he did:
  • Clean the brick with a vacuum or stiff brush if necessary.
  • If you have wood burning, I'd call your chimney sweep and see what they say, but you're probably going to need soap and water and maybe TSP if there is soot build-up.
  • Use a quality primer such as Kilz or Zinsser (we used the latter) Roll it on, then go back with a brush to get the mortar joints.
  • Use a quality paint. We used Benjamin Moore's black in semi-gloss. Use the same process as you did with the primer.
The bonus of the painted brick is not only aesthetics, it's so much easier to clean. I usually just use my Swiffer or a soft rag!

Tuesday, February 14, 2012

Tuesday Tip

Show your LOVE! Even if your not the romantic type, or a fan of Cupid's big day, do something simple to show your love, to the ones you love.

For me, that meant sending my son a care package at college with lots of heart shaped confections. While I'm sure he won't be showing it to his Fraternity Brothers, he'll secretly be glad to receive the package. My daughter will have a bag of all her favorite treats, including a heart motif i-tune card, waiting when she comes home from school.

And, even though Mr. A&A is globe-trotting again, I tucked a card in-between a stack of folded shirts into his luggage last week. He gave me a silly card and perfume before he left and I will definitely spray some on today!

Love to hear what all of you do to celebrate? Happy Valentine's Day!!! 

Tuesday, February 7, 2012

Tuesday Tip

Chase away the winter blues, with a blue orchid!

Yes, blue. I assure you, it's real. I bought it yesterday...at The Home Depot. 

There were several, along with the usual white and purple orchids. Wonder how they make them blue? They are called Blue Mystique. Makes perfect sense.

It came in that little pot too. Under $30. Rather chic don't you think? Treat yourself to one!

Tuesday, January 31, 2012

Tuesday Tip

Clean out the electronics graveyard. In my case, it was a deep drawer in the secretary in my office. It's was chocked full of old cell phones and cables, many of which went to whose knows what? 
Put it on the to-do list!

In my commitment to go through every closet and drawer before the months end, this was the last area to get done. Other than matching the various parts to each cell phone,  I didn't have a clue what most of the other items were for or if they were needed. I solicited some help and in no time my husband had it all cleared out.
Into the donations box these went.

All the cell phones and one desktop computer were dropped off to our local Goodwill, who will properly recycle these items with various partners including Dell. There are many other options and great organizations where you can donate or recycle these items that can all be found via Google. 
Our son is a sophomore in college and only uses a laptop. He's asked for 2 years to have this removed from the desk in his room. I am sure he will be happy to see when he comes home on his next break that we were listening,
even if it took a ridiculously long time!

I also recently noticed Best Buy has designated recycle bins in the lobbies of their stores. Not only will you enjoy that extra drawer space, but feel good knowing someone will use these items and/or that were properly disposed!

Tuesday, January 17, 2012

Tuesday Tip

Make time to take inventory. I think most people want to be organized. It makes our lives easier and less stressful.  It's a popular topic of conversation every January both in the blogsphere and in life. And, definately one of my favorite topics! 
This is our everyday flatware. The rattan storage tray I've had a long time, the maple one came with my cabinets.

Since I tend stay organized, most of the time, this year I decided my mission would be to take inventory and then come up with a shopping list of what I actually needed. 
This organizer was a purchased a few years ago from Lowes.

Same with this one, just used in a different configuration.
I never understood the concept of the "junk" drawer? If you group like items together, whether it's in a desk drawer or a kitchen drawer and keep only what you use (after you take inventory) then there won't be any junk!

First up was the kitchen. I started by making a list of anything I was lacking (a meat mallet, I broke my wooden one over the holidays) or needed replacing (some of my baking pans have seen better days) as well as find a better solution to corral all my smalls in the butler's pantry. 
These are from the closet organization section at Container Store. It's meant for socks!

I think this one was for lingerie, but it's perfect for freshly laundered and pressed cocktail napkins
 as well as paper hand towels for the power room.

What are smalls you ask? In general terms, it's a group of tiny objects that are necessary for day to day living. In the kitchen area, they're often the pretty little things we need for entertaining, or gadgets that help us with cooking and baking.

One drawer done. 
 It's remarkably satisfying to be able to see and grab what you need and have it look good too!

Tuesday, January 10, 2012

Tuesday Tip

Did your house get everything it wanted for Christmas? No? Neither did mine.
I'm crazy about convex mirrors and the arrival of this pair of tiny antique specimans was so exciting!
They are reflecting the columns that lead into the kitchen and make the ceiling look 15 feet tall.

And that's okay. Although I did receive a few new treasures. And new items, even the small ones, sometimes provide the push needed to inspire a few changes. And what better time to do it than the start of a new year?

I have a lock collection. My husband gave me this one for Christmas.
It's the first square one I've ever owned!

I think after the holidays, when everything is put away (I finally finished this past Saturday), a house can feel empty and even a bit lifeless. But that also provides a clean slate and the opportunity for little updates and small changes. Turn it into the winter version of spring cleaning. Just add fresh flowers and music and I promise it will be quite enjoyable!
The way the sunlight was coming into the living room today, it almost looked like spring,
except for the red berries that are abundant on the Holly tree just outside the window!

I definately don't think new things are always needed to make changes, sometimes the best place to shop is at home! Just moving a few things such as a lamp, the items on the coffee table, a chair or small work of art, not only gives the house a fresh perspective, but it's owner as well! Now where to put those convex mirrors...

Tuesday, January 3, 2012

Tuesday Tip

Make a date with your DELETE button. And don't break it.

While I've been away enjoying the holidays, a little blogging break and some much needed time away from computer, it's time to get the first post of the year done. But, that couldn't happen until I finished my work...on the computer. While I don't make New Year's resolutions, I do make lists. First up on the list for 2012? Clean up my computer files. The pictures, in particular, were out of control! I started with our family Christmas pictures from this year and worked my way back. Way back. Three years worth of vacations, holidays, birthdays, and way too many random shots. You know the kind. The ones you look back on and have no idea what was interesting about anything in the frame?
I took a picture of these birds from a family trip to Orlando in 2010 because I thought they were interesting.
The actual truth?
  I took it because we all thought they were conjoined...until they started to move. Yes, we felt stupid. Delete.

I started with the most recent images. I deleted duplicates and any undesirable shots, then cropped/edited (I don't know how to photoshop, but it's on the list of things I want to try to learn one day) any photos that needed to be cleaned up, and finally dragged what remained into labeled folders and copied each folder onto a disk and labeled it.
Three years of neglect took many hours, over a three day span to clean up.  But it was absolutely worth it to finally complete this task and put an end to worrying about losing cherished images forever. And, the added bonus is that now I won't be wasting time in the future looking for a particular image! The next step will be to print and frame some favorite pictures. It's been awhile since I've changed any family photos and now I'm really looking forward to doing it! Then it's on to tackling all those blog images I've accumulated...

Tuesday, December 20, 2011

Tuesday Tip

Make pomanders for a last minute holiday centerpiece. Pomanders comes from the French pomme d'ambre meaning ball of perfumes and used since medieval times.
I used to live in Williamsburg, Virginia and never do I miss it more, than in December. Strolling through the cobblestone streets of Colonial Williamsburg when the city is dressed in all it's holiday finery was always a highlight of the season. From the simple swags of pine garland draped across painted fences and windows glowing with candles to old doors adorned with wreaths made with fruits. So utterly simple and breathtakingly beautiful. The aroma of pine, citrus and clove can transport me in an instant!


This past weekend, I enticed my son into helping me make a few pomanders since I needed something to dress up the kitchen table. All it took was the lure of holiday cookies baking in the oven. He's in college, and declares that all the cookies are bad, so he was an easy target a willing helper!


You need only 3 items: a bag of oranges (I used firm tangerines since I already had them), a jar of whole cloves and several toothpicks.


Use a toothpick to puncture the skin of the fruit in the pattern you want, then insert the clove spikes. We did 3 patterns. If you've never made pomanders before, trust me when I say, it's requires no talent whatsoever! Let your kids help, because once they are placed in a bowl no one will notice a pattern gone awry. They are festive on their own in a decorative bowl or tureen, or add pinecones, fresh greens and a candle and you have a very easy and inexpensive centerpiece to enjoy!